
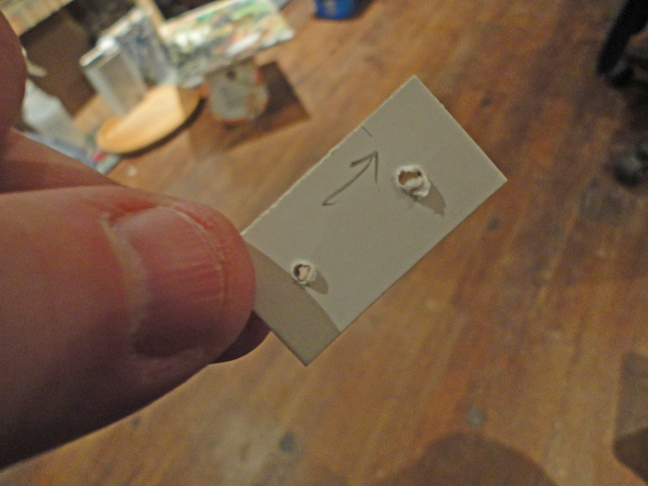
This is a little paper jig I made to mark my drill holes on the neck and on the piece of maple I’m using as a dowel stick.
 You can see that I’ve drawn the placement of the neck on the can and marked the stick for drilling.
 I drilled the holes in the neck for the dowels.
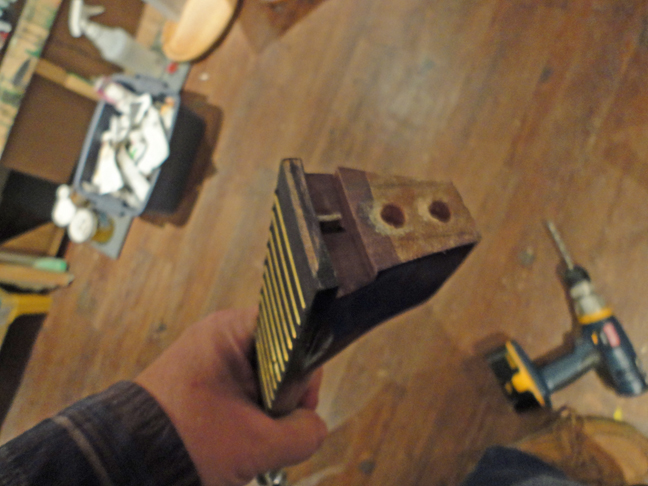
 I glued the two dowels into the maple stick.
 …then joined the stick to the neck using Gorilla Glue and the dowels.
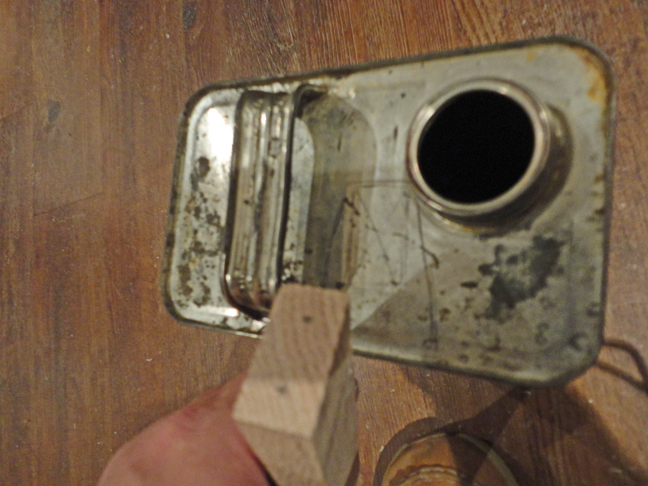
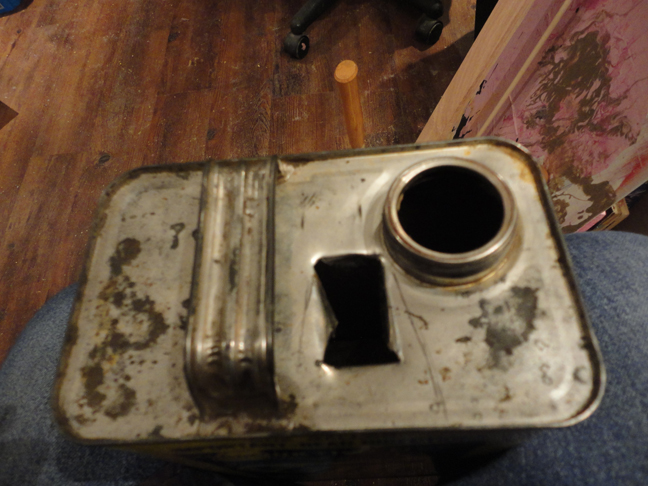 I created a the hole in the can with a slot-head screwdriver and a mallet. I cut an X within the measured rectangle and bent the 4 sides down. I’ve tested the hole size with a spare piece of maple and it is just right. I’m going to let my glue dry and start making some soup for dinner. Tomorrow, I’ll try to establish the right angle for the neck, make the tailpiece and complete the assembly. I picked up some light gauge steel banjo strings today, so once assembly is complete I can string it up. It may take a bit of trial and error to establish just the right neck angle. Because I’m using 1X2 as a dowel stick, I’ll be able to create two points of contact on the tail for added stability.

This is really starting to come together. From your excellent step by step instructions, I almost feel as though I could make one.
Here we go! Here is some real progress!
…so far so good Steve.
I can now start to envision how it goes together, but only start to.
The dowel stick joins the can and the fork/tailpiece at the bottom of the can. The can, fork and stick all get predrilled. The fork gets bent around the bottom of the can and the tines are bent back so the strings can loop over them. The bridge floats in position.
Got it. Now I can see it in my mind. Good luck.